By Matt Nash, Founder, Just Seal It. 20+ years on-site. 15,000+ surfaces sealed. Featured on The Block. Published 4 May 2026.
Concrete pavers are one of the easiest surfaces to seal. They're also one of the most commonly done wrong.
Not because the process is hard. Because one step gets skipped.
This post is about that step. Get it right and everything else is straightforward. Skip it and you'll be stripping a failed seal in six months, which is considerably less fun than doing it right the first time.
Short version: clean with Stone Wash or similar, let the pavers dry until bone dry, apply Classic Sealer in two wet-on-wet coats with a microfibre applicator or low-pressure sprayer, first coat left to right, second coat in the opposite direction. Light foot traffic after an hour. Full cure in 30 days. Pool surround or coastal property: use Plus instead of Classic.
Why sealing concrete pavers is worth doing and why timing matters

Concrete pavers look solid. They're not.
At a microscopic level, they're full of capillary pores: tiny passages that water, stains, and anything that spills travels through. Without a sealer, a red wine spill becomes a permanent mark. A potted plant leaves a rust ring. Red dust from a westerly wind bakes into the surface and won't brush out.
A penetrating sealer chemically bonds within the mineral structure of the concrete, filling those pores from the inside. When rainwater or groundwater carries dissolved salts through unsealed concrete, those salts crystallise inside the capillaries as water evaporates. The crystals expand with temperature changes, forcing open the pore walls from within. Efflorescence is the visible sign. Spalling and surface degradation follow. The sealer closes off the pathway before that process can start. Stains stay near the surface rather than penetrating, which makes them much easier to clean before they set.
When pavers are first installed, they look fine either way. Sealed or not. You won't really notice a difference.
The difference shows later.
Fast forward 3-5 years: surfaces that were sealed properly clean up easily. Minimal damage. Still holding their natural look. The ones that weren't usually don't come back the same. More staining. More wear. More problems that are harder and more expensive to fix.
Sealing is one of the best things you can do for outdoor concrete. It's not bulletproof. Stains left too long will still mark. But maintenance on a sealed surface is a fraction of the work it is on an unsealed one. Clean up spills when you see them. A maintenance coat every 3 to 5 years keeps performance at its peak. That's the deal.
New pavers need time. Freshly laid concrete is still curing. It off-gases carbon dioxide as the cement hydrates. Seal too early and those gases get trapped. The result is efflorescence: white powdery salts pushing through and making the sealer lift or cloud. Wait three months minimum. Some product data sheets say 28 days. I'd give it 90. Existing pavers, any age, any condition: seal any time. Clean them first.
What type of sealer works on concrete pavers
Two categories: penetrating sealers and topical film sealers. They behave completely differently.
Penetrating (impregnating) sealers chemically bond within the mineral structure of the concrete rather than coating the surface. Protection forms from inside the pore structure: invisible, with no change to the paver's appearance. Unlike topical coatings, there is nothing sitting on the surface to peel, flake, or delaminate. This is what you want for outdoor concrete pavers.
Topical film sealers (acrylics, polyurethanes, some epoxies) sit on the surface as a coating. They look fine at first. Then moisture works underneath, the coating lifts, and reapplication becomes difficult because you are sealing over a compromised surface. UV degrades the film faster outdoors. They also make the surface slippery when wet.
If a product says "enhancer," "wet look," or leaves a sheen: it's topical. Leave it on the shelf.
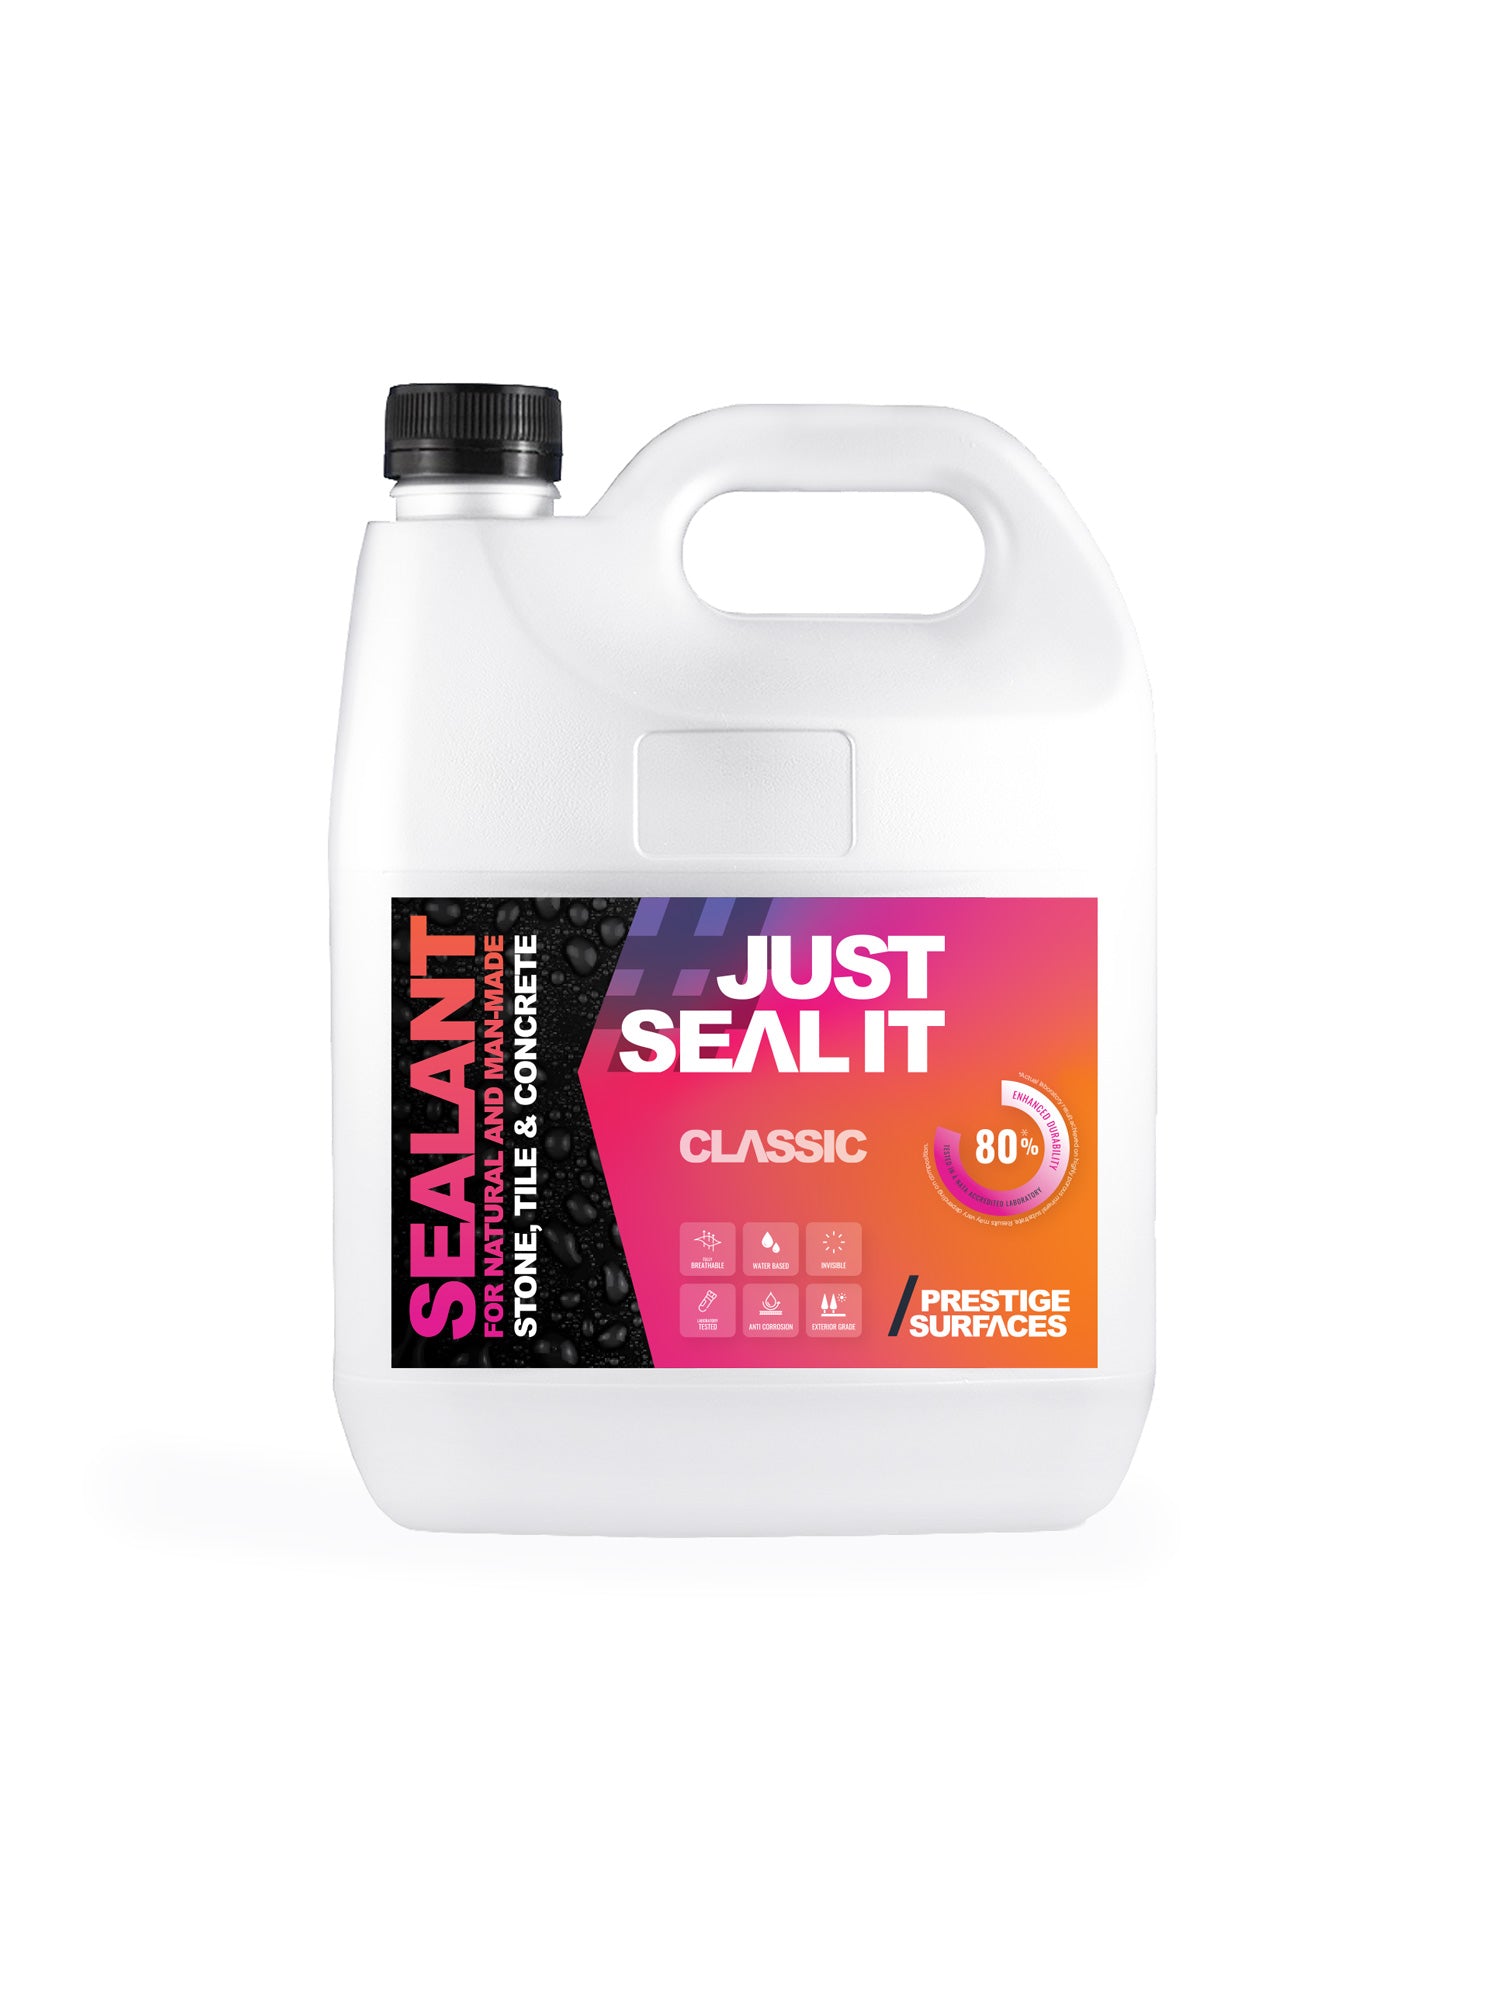
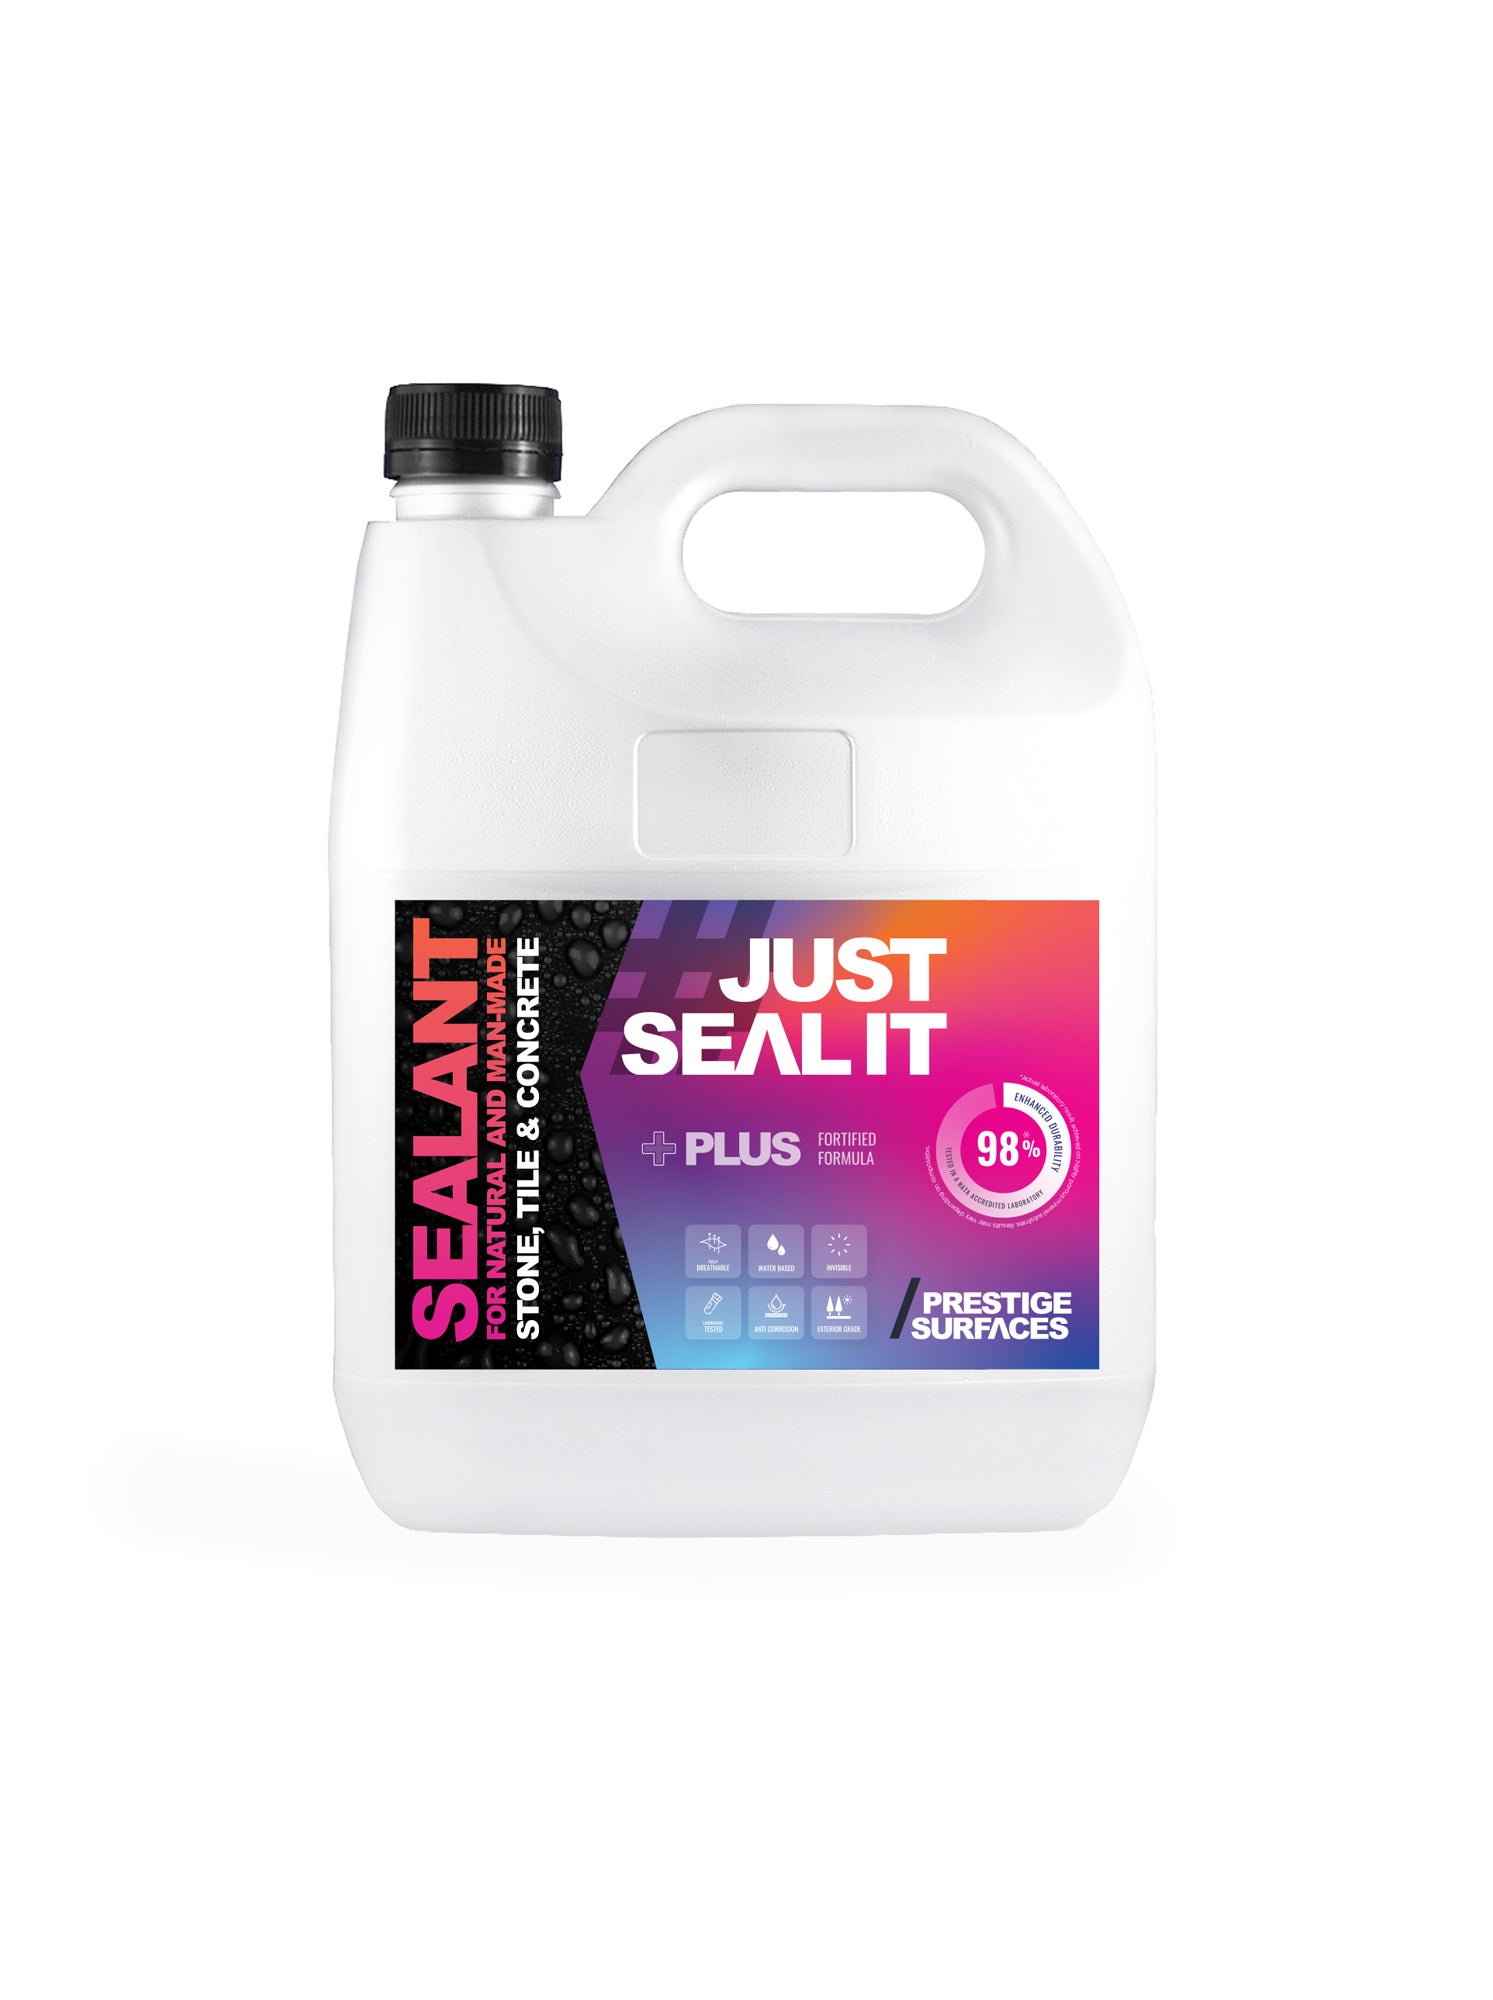
For most outdoor concrete pavers, Classic Sealer is the right product. Independently tested at a NATA-accredited laboratory, water-based, PFAS-free, covers 10m² per litre. Pool surrounds or coastal properties, anything with persistent salt, chemical, or heavy water exposure: Plus Sealer. Independently tested at the same NATA-accredited laboratory for salt, chemical, and weathering resistance. Same invisible finish. Built tougher.
See Penetrating Stone Sealer for independent laboratory test results on sealed versus unsealed surfaces.
How to prepare concrete pavers for sealing
Preparation is 80% of the result. That's not a figure of speech. It is the difference between a seal that lasts five years and one that fails in six months.
Clean the surface properly. For most concrete pavers in reasonable condition, Stone Wash diluted at 1:100 is all you need. One cap per bucket. A 1L bottle covers up to 1,000m² at that dilution. Most people don't believe that until they do the maths. Scrub with a stiff-bristle broom or pressure washer, then rinse.
If there's visible algae, lichen, or dark biological growth, treat that first. A diluted sodium hypochlorite solution (pool chlorine works) applied and left to dwell will knock back the biology. Rinse it off, then follow with Stone Wash to neutralise the surface before sealing. Sealing over active biological growth leaves it in place to keep growing. Remove it first.
One note on acid-sensitive surfaces: some concrete pavers contain calcium carbonate and can react badly to acid-based cleaners. If you're not sure, test any acid-based product in a small hidden area first, or default to Stone Wash throughout. It handles most cleaning situations and won't damage acid-sensitive surfaces.
Rinse completely. Cleaner residue on the surface interferes with sealer absorption. Rinse until the water runs clear and there's no foam left.
Dry completely. This is the step people skip. The pavers need to be bone dry, not just on the surface but through the thickness of the paver. On a warm day with good airflow, that can happen within a few hours of washing. In cool, shaded, or humid conditions it takes longer. Don't go by the clock.
To check: tape a small square of plastic film to the surface and leave it for an hour. Moisture condensing under the plastic means keep waiting. This test takes ten minutes. Most sealing failures trace back to skipping it.
Seal on a dry day. If rain is coming, wait.
How to apply sealer to concrete pavers, step by step
- Check the surface is dry. Plastic sheet test if unsure. No exceptions.
- Work in manageable sections. For a 60m² driveway, work in strips of about 10m² at a time. Overlap marks appear when you try to do the whole area at once and the first section starts drying before you get back to it.
- Apply the first coat. Apply undiluted sealer with a microfibre applicator or low-pressure pump sprayer, working left to right. Not a standard roller: it can't deliver product evenly on textured paving. Thin and even, not flooded. One litre covers 10m².
- Apply the second coat while the first is still wet. Work in the opposite direction. This is the wet-on-wet technique. Don't wait for the first coat to dry. The second coat bonds into the first and gives full depth of penetration. Let it dry first and you get two thin films sitting on each other instead of one properly absorbed seal.
- Don't leave puddles or thick patches. If sealer pools in low spots, back-roll it out. Excess sits on the surface rather than penetrating and dries as a cloudy residue.
- Keep traffic off for 1-2 hours. Light foot traffic is fine after that. Furniture back at 24 hours.
How long does sealer take to dry and cure

Dry to touch: about 30 minutes in normal conditions.
Light foot traffic: 1-2 hours.
Furniture, chairs, pot plants, vehicles: back after 24 hours.
Full cure: 30 days.
The 30-day full cure is the number people underestimate. The sealer is still completing its chemical bonding during that window. Fine for foot traffic and normal outdoor use. Drag heavy furniture across a freshly sealed driveway at day three, or park on it at day five, and you'll leave marks.
Furniture and vehicles: back on after 24 hours. Full chemical cure is 30 days, but for most practical purposes the surface is ready well before that.
Cold weather note: below 10°C the sealer cures slowly. It won't fail, but give it extra time. Don't apply when temperatures will drop below 5°C overnight.
How often do concrete pavers need resealing
There's no fixed schedule.
Beading is a visible sign of a freshly applied sealer. It naturally reduces over weeks or months as the sealer settles into the surface. This is completely normal and doesn't mean the protection has failed. The sealer continues to work from inside the stone regardless of whether beading is visible.
In practice, most outdoor concrete paving benefits from a maintenance coat every 3 to 5 years. High-traffic, coastal, or pool areas: closer to the 3-year end of that range. Covered or indoor areas: longer. The main variable is UV exposure. Direct sun accelerates wear. Shade extends it.
For a full guide on when resealing is needed and how to maintain your surface, read our maintenance guide.
You don't need to strip the existing sealer before resealing. Clean the surface, let it dry, apply fresh sealer as normal. The new coat bonds into the existing one. If there's a peeling or flaking topical sealer, strip it first. A penetrating sealer from a previous application is fine to seal over.
Two things most sealing guides don't mention
1. New concrete needs 90 days, not 28
Most product data sheets say "minimum 28 days for new concrete." That's the minimum. Seal at day 28 in winter, or with pavers laid in a hurry, or with residual moisture from substrate work below, and efflorescence is your likely outcome. White powder pushing up through the sealer. It looks bad and it's genuinely hard to fix.
Wait three months. If someone tells you 28 days, they're technically correct. They're not giving you the full picture.
2. More product is not better
The most common mistake: two heavy coats instead of two thin ones, then a third "for good measure." Penetrating sealers work through absorption. The surface can only take so much. Excess stays on top, dries as a film, and gives you the same haze problem you'd get from a topical sealer. Except harder to remove, because part of it has already penetrated.
If the sealer is still pooling or wet after 30 minutes, you've applied too much. Back-roll it out or dab with a dry microfibre pad. Two thin coats properly applied outperform three heavy ones every time.
Frequently asked
What's the best sealer for concrete pavers?
A penetrating (impregnating) sealer, water-based and PFAS-free. Classic Sealer for standard outdoor use. Plus Sealer for coastal, poolside, or high-exposure areas. Avoid topical acrylic sealers outdoors.
Can I seal concrete pavers myself?
Yes, and most customers do. The critical steps are cleaning properly and waiting for the surface to dry completely. Both are patience, not skill.
How long after laying new pavers can I seal them?
Three months minimum. The concrete needs to finish curing before you seal, otherwise trapped gases cause efflorescence.
Do I need to remove old sealer before resealing?
Not if the existing sealer is a penetrating type. Clean, dry, apply. Peeling or flaking topical sealer: strip it first.
How many coats do concrete pavers need?
Two coats, applied wet-on-wet. Apply the second while the first is still wet. Better penetration than two separate dry coats.
Will sealer change how my concrete pavers look?
Penetrating sealers are completely invisible. No sheen, no darkening, no wet-look effect. The surface looks identical. It significantly reduces how quickly stains penetrate, making routine cleaning much easier.
How do I know when the sealer needs refreshing?
Beading naturally reduces over time. This is normal, not a sign of failure. The sealer continues to protect from inside the stone even when beading has stopped. For guidance on when resealing is actually needed, read our maintenance guide.
Still stuck? Get the right product

Not sure which sealer suits your surface, how much you'll need, or whether your pavers need cleaning first: email hello@justsealit.com.au with a photo and we'll tell you. Most questions take five minutes to answer. We'd rather you get it right the first time than buy twice.